As the temperatures in our region begin to climb, the comfort of your home depends largely on the efficiency of your cooling system. While many homeowners focus on routine maintenance or simple filter changes, there comes a time when a complete
AC installation is the most cost-effective and comfortable path forward. Whether you’re replacing an aging unit that’s finally seen its last summer or you’re upgrading to a high-efficiency model for the first time, the process can feel overwhelming.
At 1st American Plumbing, we believe a cool home starts with a smart plan. A flawless installation isn't just about hooking up a new machine; it’s about ensuring your entire HVAC ecosystem is balanced and ready for the heat.
Why Timing Matters for Your AC Installation
The best time to think about a new cooling system is before the first major heatwave hits. During the peak of July and August, HVAC contractors are often booked weeks in advance, and emergency replacements can be stressful. By scheduling your project in the late spring or early summer, you give yourself the luxury of time to research models, compare
SEER ratings, and ensure the work is done with meticulous attention to detail.
Beyond just scheduling, early planning allows you to evaluate if your current ductwork and electrical panels are up to the task of supporting a modern unit. Newer systems are often more powerful and technologically advanced than those installed fifteen or twenty years ago, requiring a professional eye to ensure compatibility.
Pre-Installation: Preparing Your Home for New Cooling
A successful project begins long before techs arrive at your door. Preparation is the key to minimizing downtime and ensuring that your air conditioning installation provides maximum comfort from day one.
Assessing Your Home’s Cooling Needs
Every home has a unique heat load. This is determined by factors such as the number of windows you have, the quality of your insulation, the square footage of your living space, and even the direction your home faces. A unit that’s too small will run constantly, driving up energy bills without ever reaching your desired temperature. Conversely, a unit that’s too large will short-cycle, turning on and off too frequently, which leads to humidity problems and premature wear and tear.
Clearing the Area
For a seamless AC installation, technicians need clear access to both the interior and exterior components of the system.
- Outdoor Unit: Clear away weeds, tall grass, and debris from the area where the condenser will sit. There should be at least two feet of clearance around the unit for proper airflow.
- Indoor Unit: If your evaporator coil or furnace is in a closet, attic, or crawlspace, ensure the path is clear of storage boxes or household clutter.
Technical Steps in a Professional AC Installation
When the day of the installation arrives, knowing what to expect can help ease any anxiety. A professional team follows a strict protocol to ensure the system is safe, sealed, and calibrated.
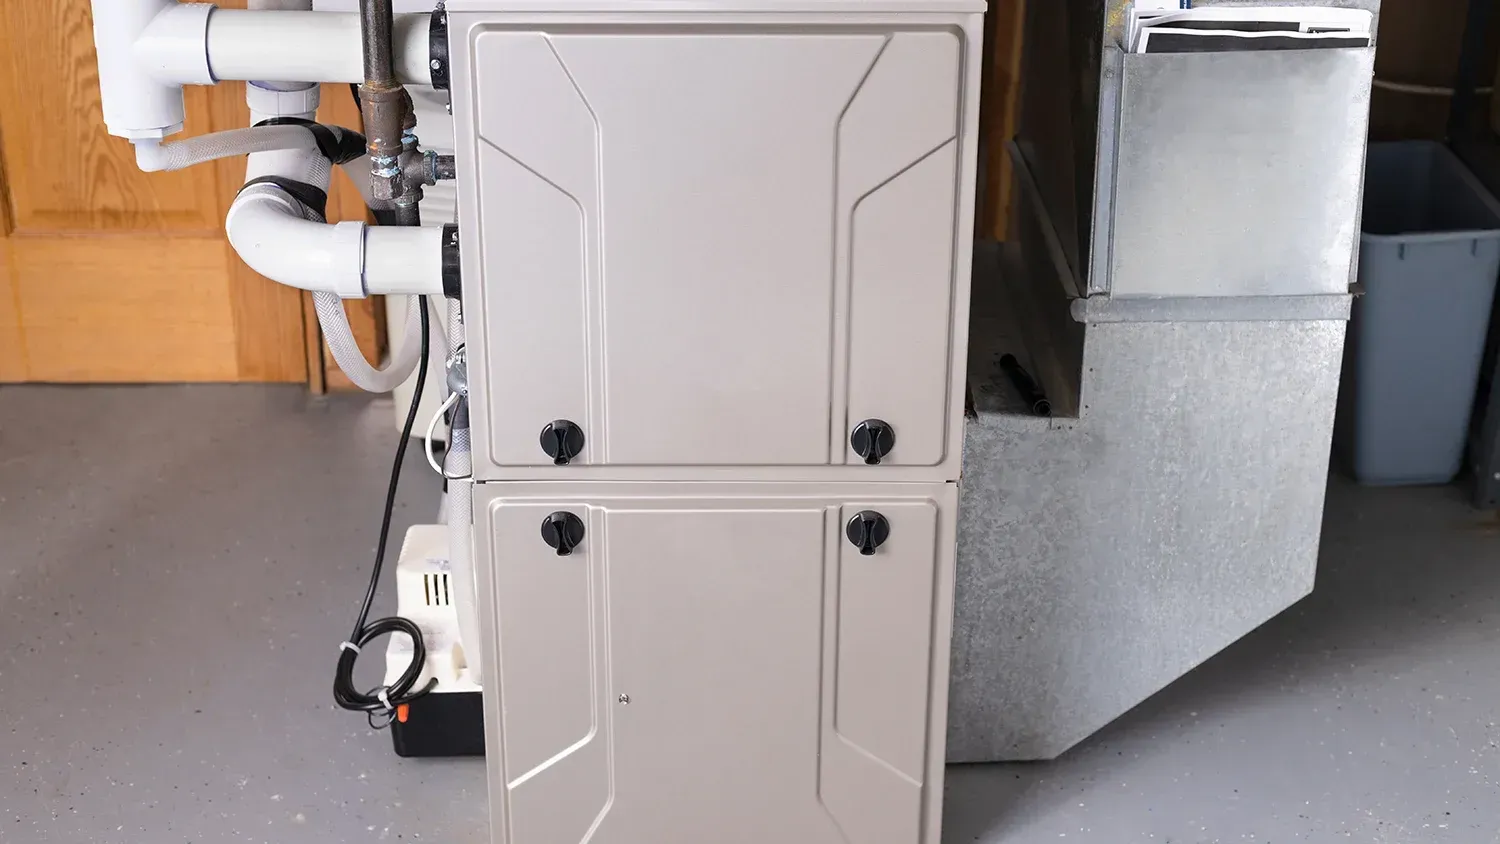
Removing the Old System
The process starts with the safe recovery of refrigerant from your old unit. This is a critical step that must be handled by EPA-certified professionals to prevent environmental damage. Once the refrigerant is safely removed, the old condenser and indoor coils are disconnected and hauled away for proper disposal.
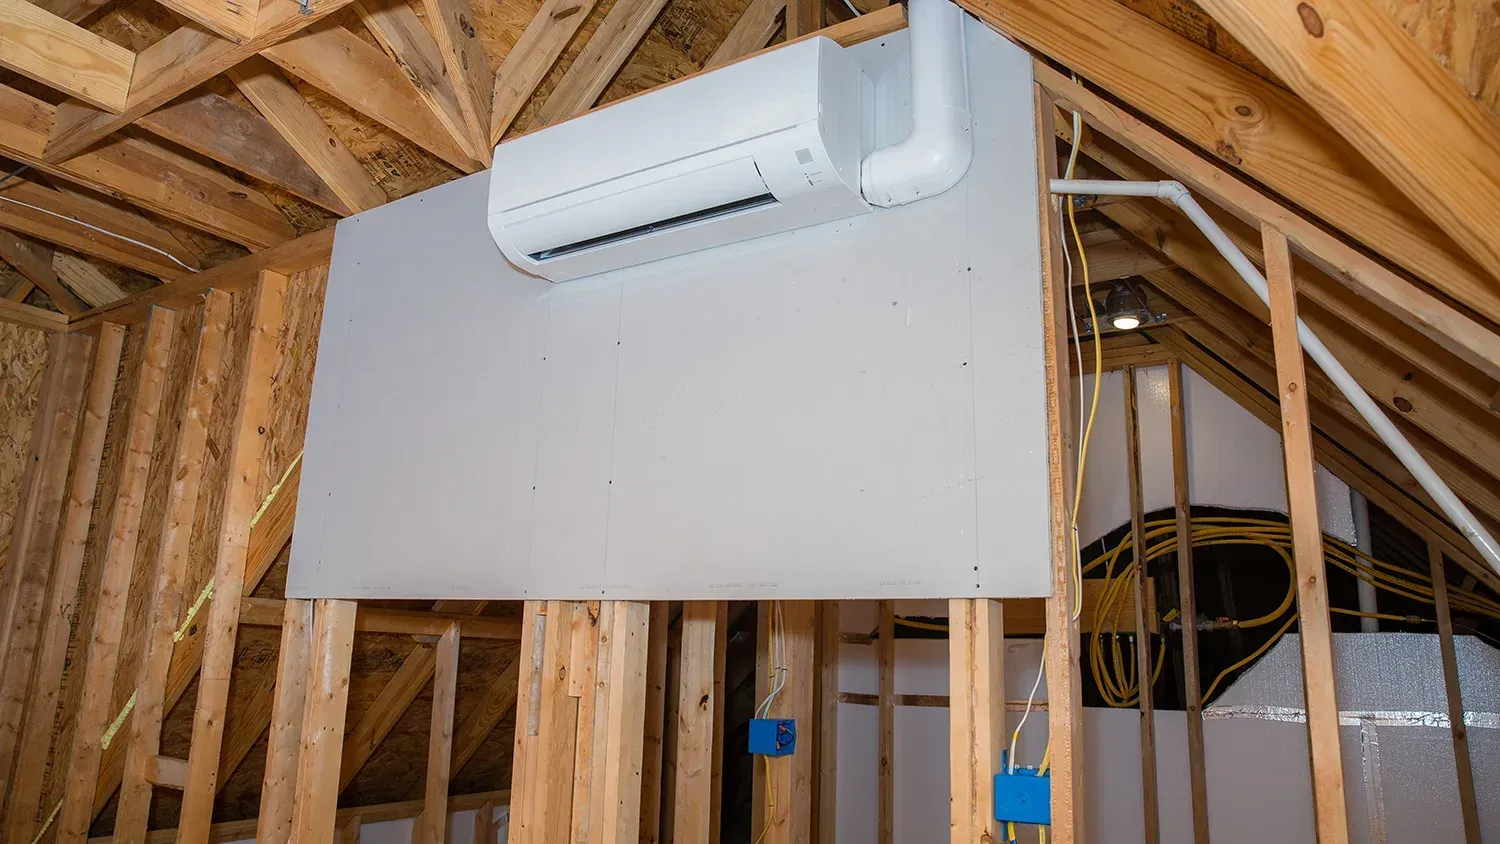
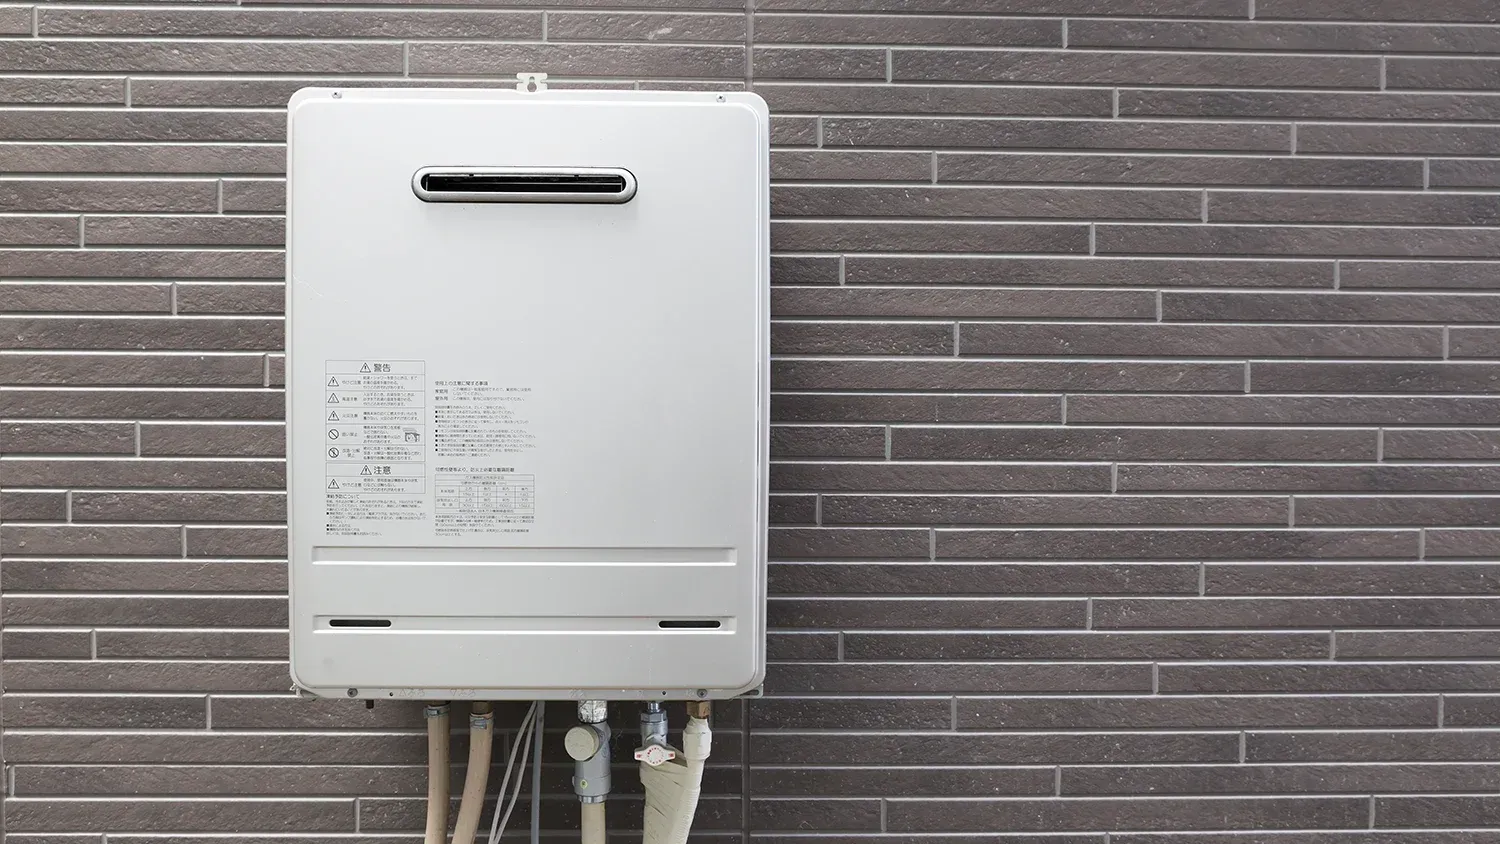
Positioning and Leveling for AC Install
The outdoor condenser must be placed on a level, sturdy pad. If a pad settles and the unit becomes tilted, it can lead to oil migration issues in the compressor, significantly shortening the lifespan of your new investment. During a professional AC installation, your team will ensure the base is stable and elevated enough to stay clear of dirt and water runoff.
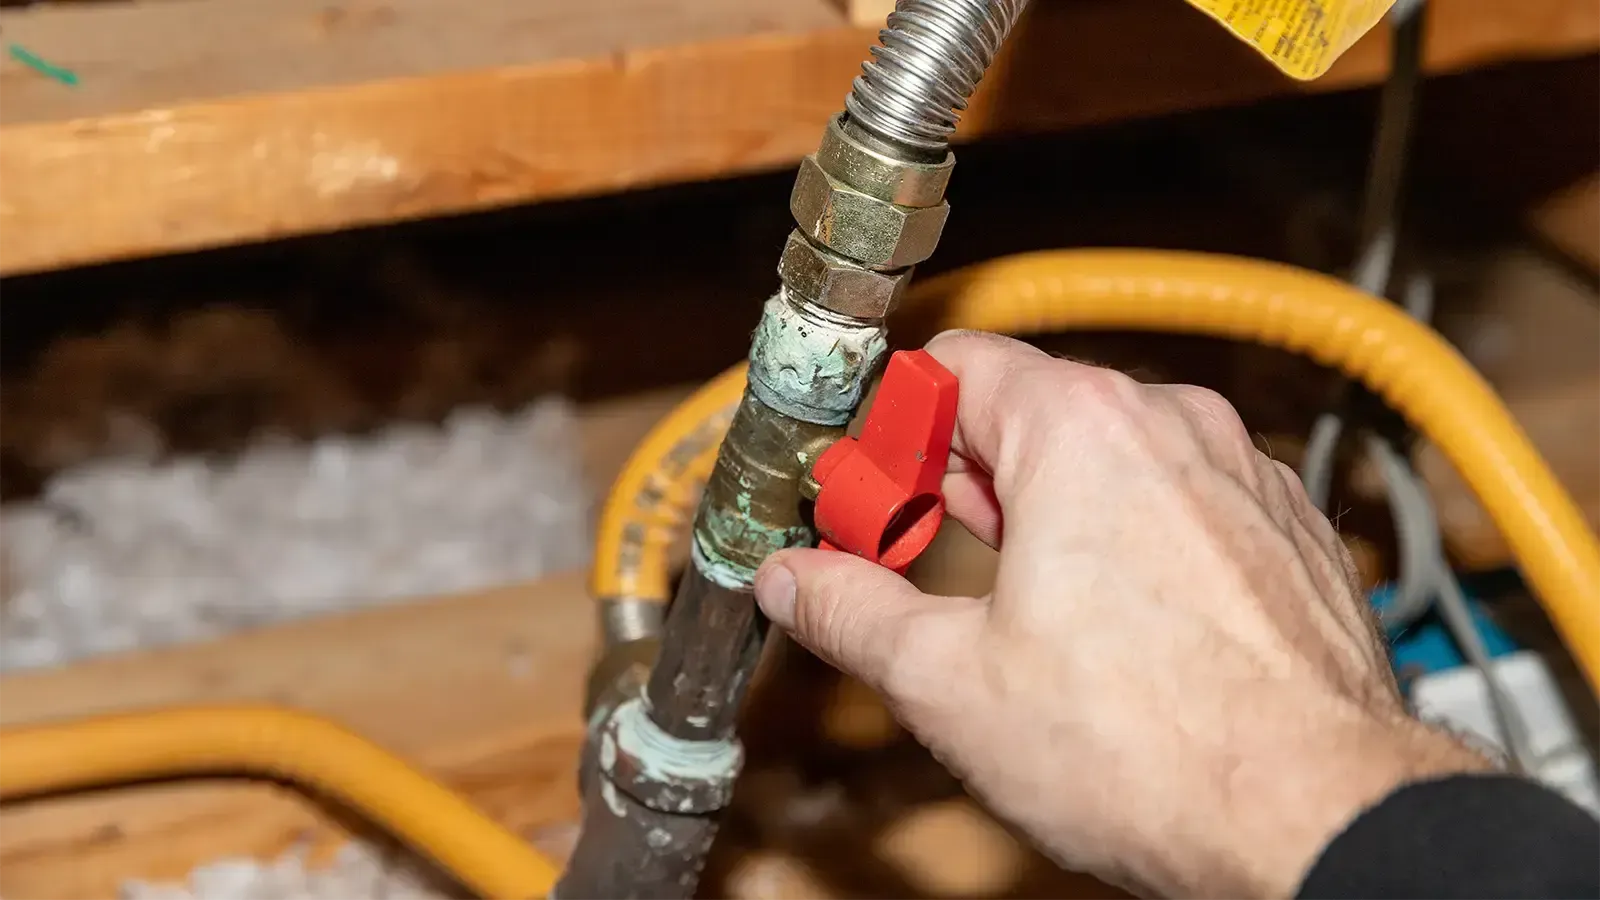
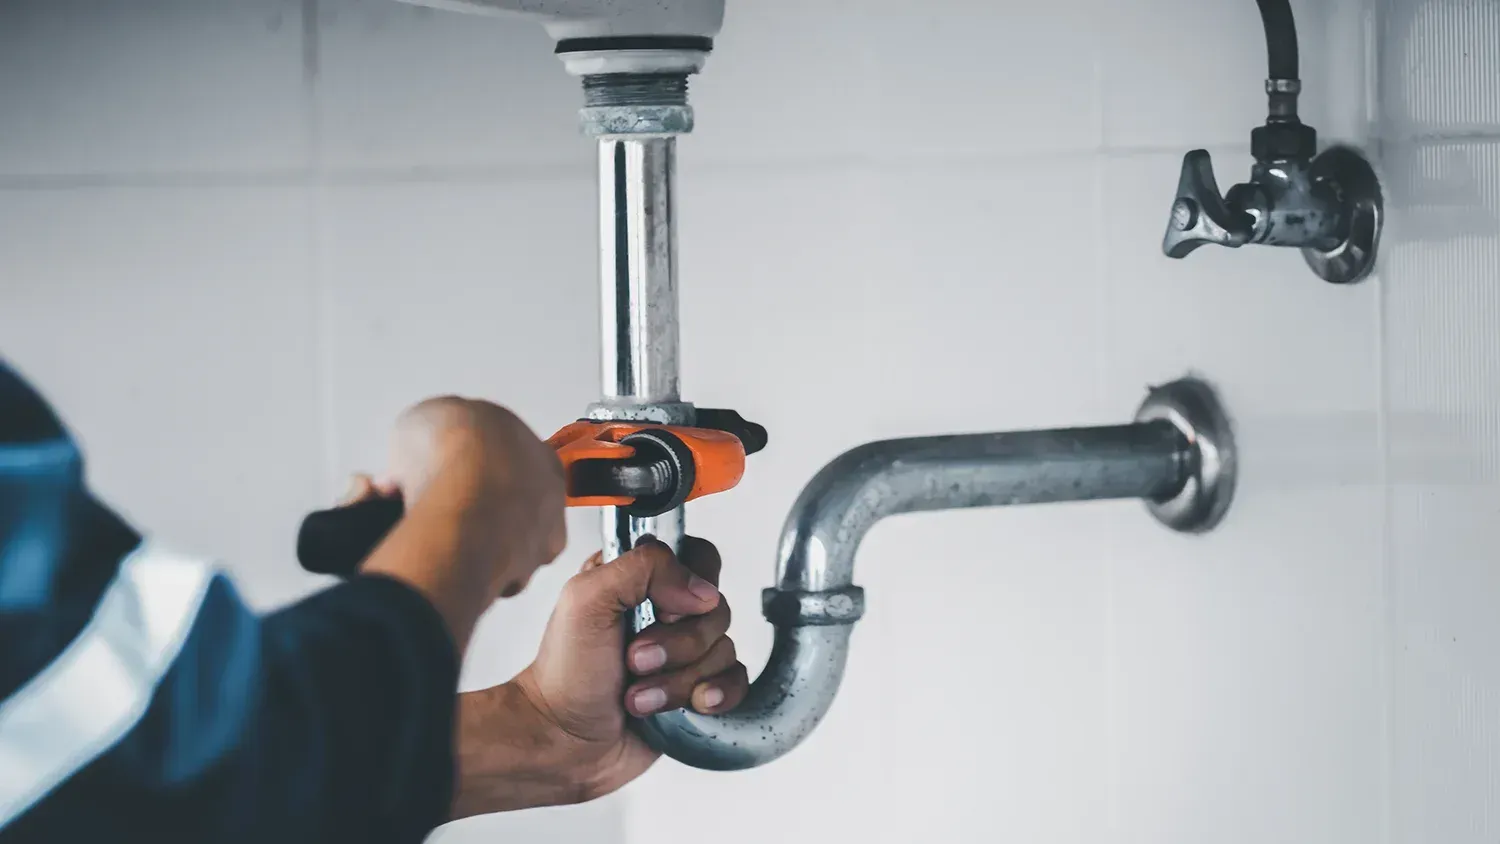
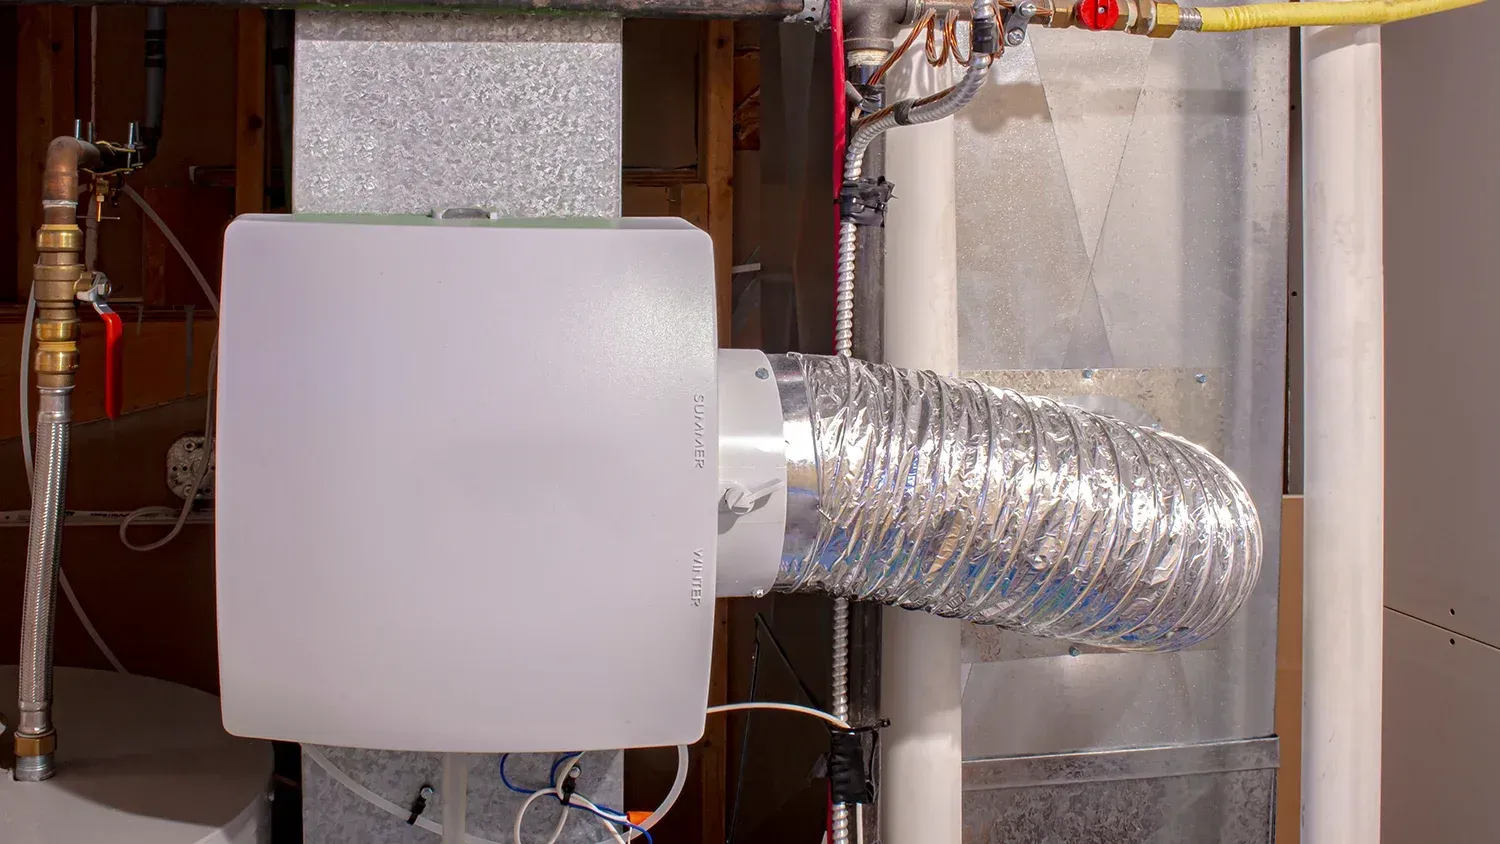
Connecting the Linesets
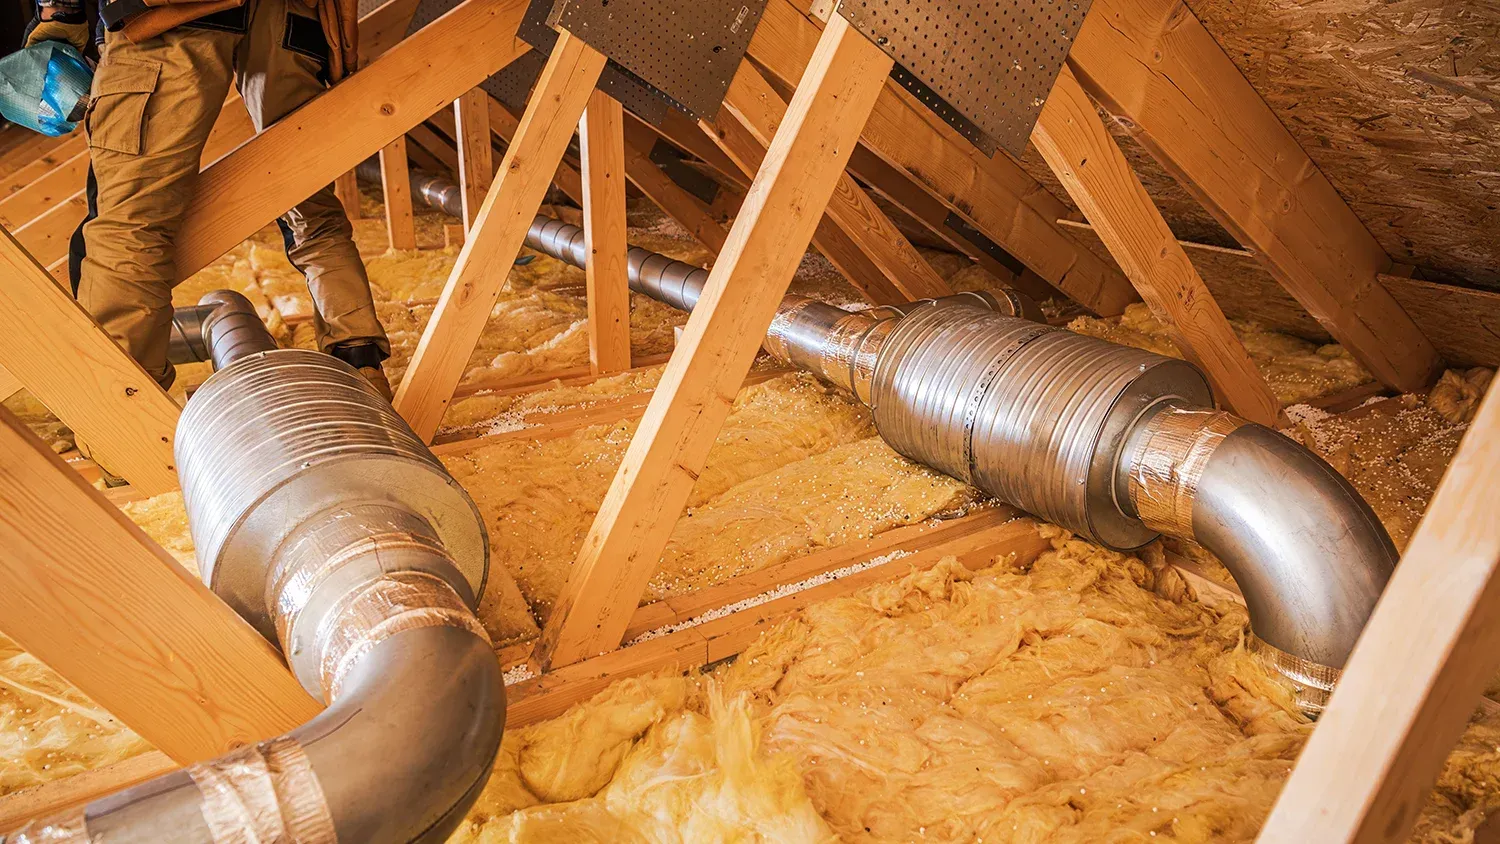
The lineset consists of two copper tubes that circulate refrigerant between the indoor and outdoor units. These must be sized correctly for the specific model being installed. Professional installers will also ensure these lines are properly insulated to prevent energy loss and condensation issues inside your walls.
Maximizing Efficiency with Modern Air Conditioning Installation
Modern cooling technology has come a long way. When you opt for a new air conditioning installation, you aren't just getting a newer version of your old machine; you’re gaining access to features that prioritize both comfort and savings.
Understanding SEER2 Ratings
The Seasonal Energy Efficiency Ratio (SEER2) measures how much cooling a system puts out for every watt of electricity it consumes. Higher numbers indicate better efficiency. While the initial cost of a high-efficiency unit may be higher, the long-term savings on your monthly utility bills often make it the smarter financial choice over the life of the system.
The Role of Programmable Thermostats
A new installation is the perfect time to upgrade your thermostat. Smart thermostats allow you to create schedules that align with your lifestyle, ensuring you aren't wasting money cooling an empty house while you’re at work. Many of these devices can be controlled via smartphone, giving you total command over your home’s climate from anywhere in the world.
Post-Installation: The Final Walkthrough and Testing
A job isn't finished just because the last bolt is tightened. The final stage of a flawless AC installation involves rigorous testing to verify that everything is functioning as intended.
Pressure Testing and Vacuuming
Before the new refrigerant is released into the system, technicians perform a pressure test with nitrogen to check for leaks. Following this, a vacuum pump is used to remove air and moisture from the lines. Moisture is the enemy of an AC system; if left inside, it can cause acid to form, which destroys the compressor from the inside out.
Airflow Calibration
The technicians will check the airflow at your vents to ensure the blower motor is set to the correct speed. Proper airflow is essential for moisture removal (dehumidification) and consistent temperatures throughout the house. If some rooms feel like ice boxes while others are sweltering, the system isn't truly installed until that balance is found.
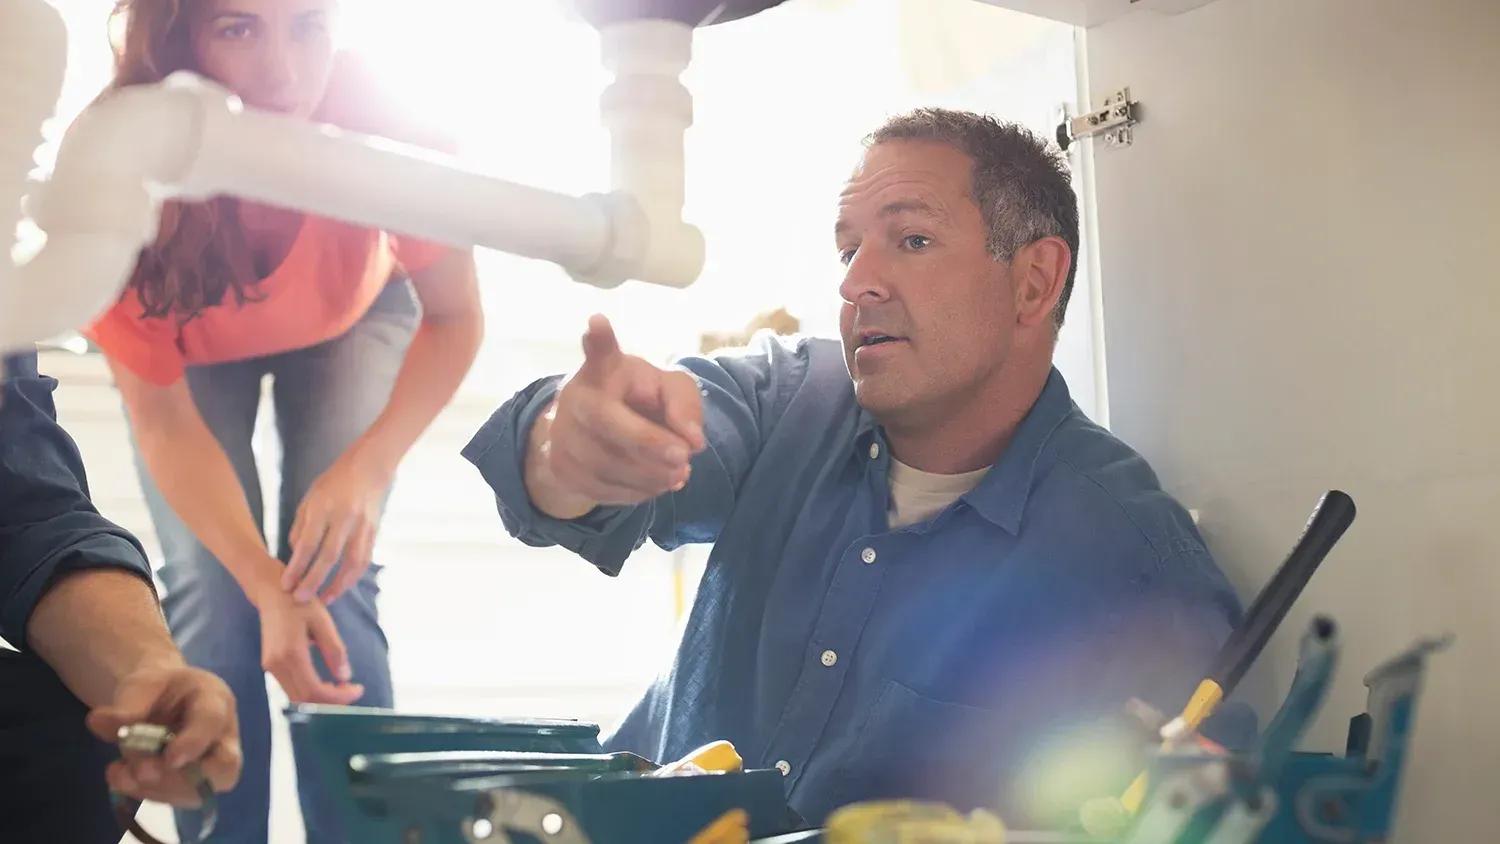
Homeowner Orientation
At 1st American Plumbing, we make it a priority to walk you through your new system. We’ll show you how to change the filters, how to operate your new thermostat, and what signs to look for that might indicate the system needs professional attention in the future.
Long-Term Care for Your New System
Once your air conditioning installation is complete, the goal is to keep it running like new for as long as possible. The average lifespan of a central air system is 15 to 20 years, but that is only achievable with regular care.
- Filter Changes: Check your filters every 30 to 90 days. A clogged filter restricts airflow and forces the system to work harder than necessary.
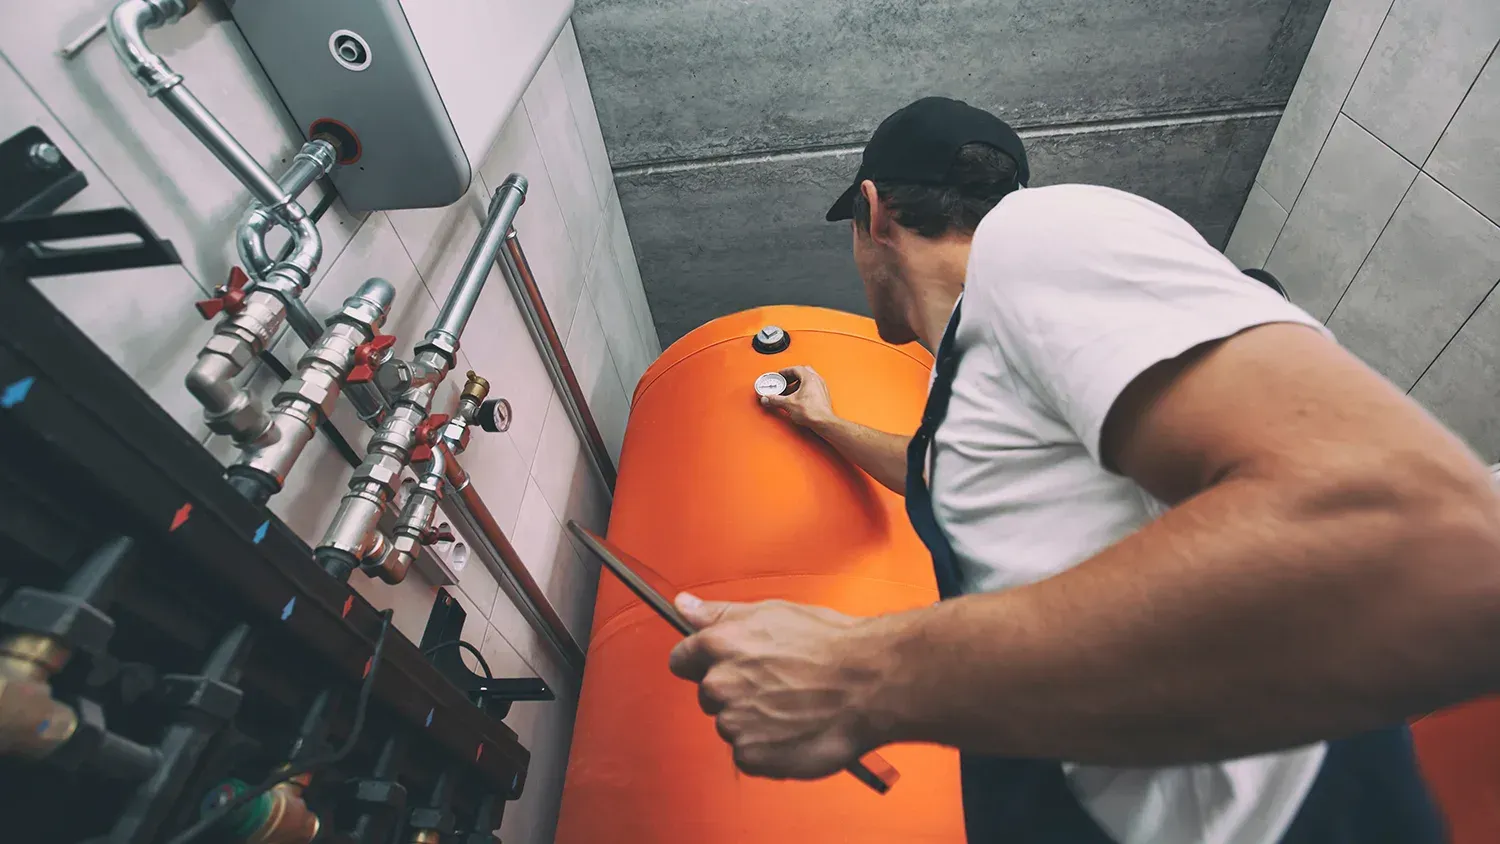
- Annual Tune-ups: Schedule a professional inspection every spring. This allows a technician to catch small issues like worn capacitors or slightly low refrigerant levels before they turn into major breakdowns during a heatwave.
- Keep it Clean: Periodically spray down the outdoor unit with a garden hose to remove dust and pollen from the fins, ensuring the unit can breathe effectively.
Choosing the Right Partner for Your AC Installation
The quality of the equipment matters, but the quality of the installation is even more important. Even the most expensive, high-end unit will underperform if it is improperly sized or poorly connected. When you choose 1st American Plumbing, you’re choosing a team dedicated to precision, transparency, and your long-term comfort.
If you’re ready to enjoy a cooler, more efficient home this summer, don't wait until the mercury hits triple digits. Proper planning and professional execution are the secrets to a stress-free summer. Contact us today to discuss your options for a professional AC installation and take the first step toward a flawlessly cooled home.